

Sometime back in my early high school years, I got my first Arduino board. Not a kit, mind you, just a bare Uno. Obviously the thrill of blinking the onboard LED wears off pretty quickly so I soon needed to get my hands on some parts. RadioShack was still around then but components there weren’t exactly cheap and I wasn’t old enough to drive yet1. Instead I ordered a few of the essentials from an online parts supplier—a couple solderless breadboards, jumper wires, a resistor kit, assorted LEDs, etc.—but after a few weeks that still didn’t feel exciting enough, I wanted to DO SOMETHING with my Arduino!
Enter this Instructable about cloning an infrared remote with an Arduino and an IR receiver & LED. This was nearly the perfect beginner Arduino project; it was cheap with just a few parts and it had the potential to be really. freaking. cool. I even had the perfect cloning candidate: the remote (and sole interface) for my Bose Wave Radio. The only problem was that I was only just learning to code by that time in my life, so despite its relative simplicity, the code in the aforementioned Instructable was still a bit over my head. I got it uploaded and running on my board and could see the remote pulses coming through over the serial monitor, but I could never get the radio to recognize my attempts to send remote signals. And so I was defeated; after a few days of trying, I pulled the circuit apart and moved on to other projects.
Fast-forward nearly a decade and now I have a Bachelor’s degree in computer science and a basement full of random electronics parts (RIP RadioShack). Oh, and guess what? I still have that radio.
A lot has changed in the ten-ish years since I started playing with Arduinos. For one thing, the Arduino ecosystem has changed drastically—the metaphorical explosion of Arduino-compatible boards and ultra-affordable clones and parts would have blown my 15-year-old self’s mind. Over those same years, I also found an appreciation for “proper” HiFi; the Bose radio I once regarded as the pinnacle of acoustic technology has now been permanently relegated to alarm clock duty beside my turntable and 80’s-vintage Sansui integrated amp.
I know what you’re thinking. “That sure seems like overkill for an alarm clock!” And that’s a valid point! Hear me out though: sometimes some very loud, heavily-processed FM radio is exactly what you need to get yourself out of bed in the morning (or at least it works for me). But that’s irrelevant. The point is, I still have the thing and use it every day and it still has the same remote-only interface and that’s boring.
It's 2021, we can do better
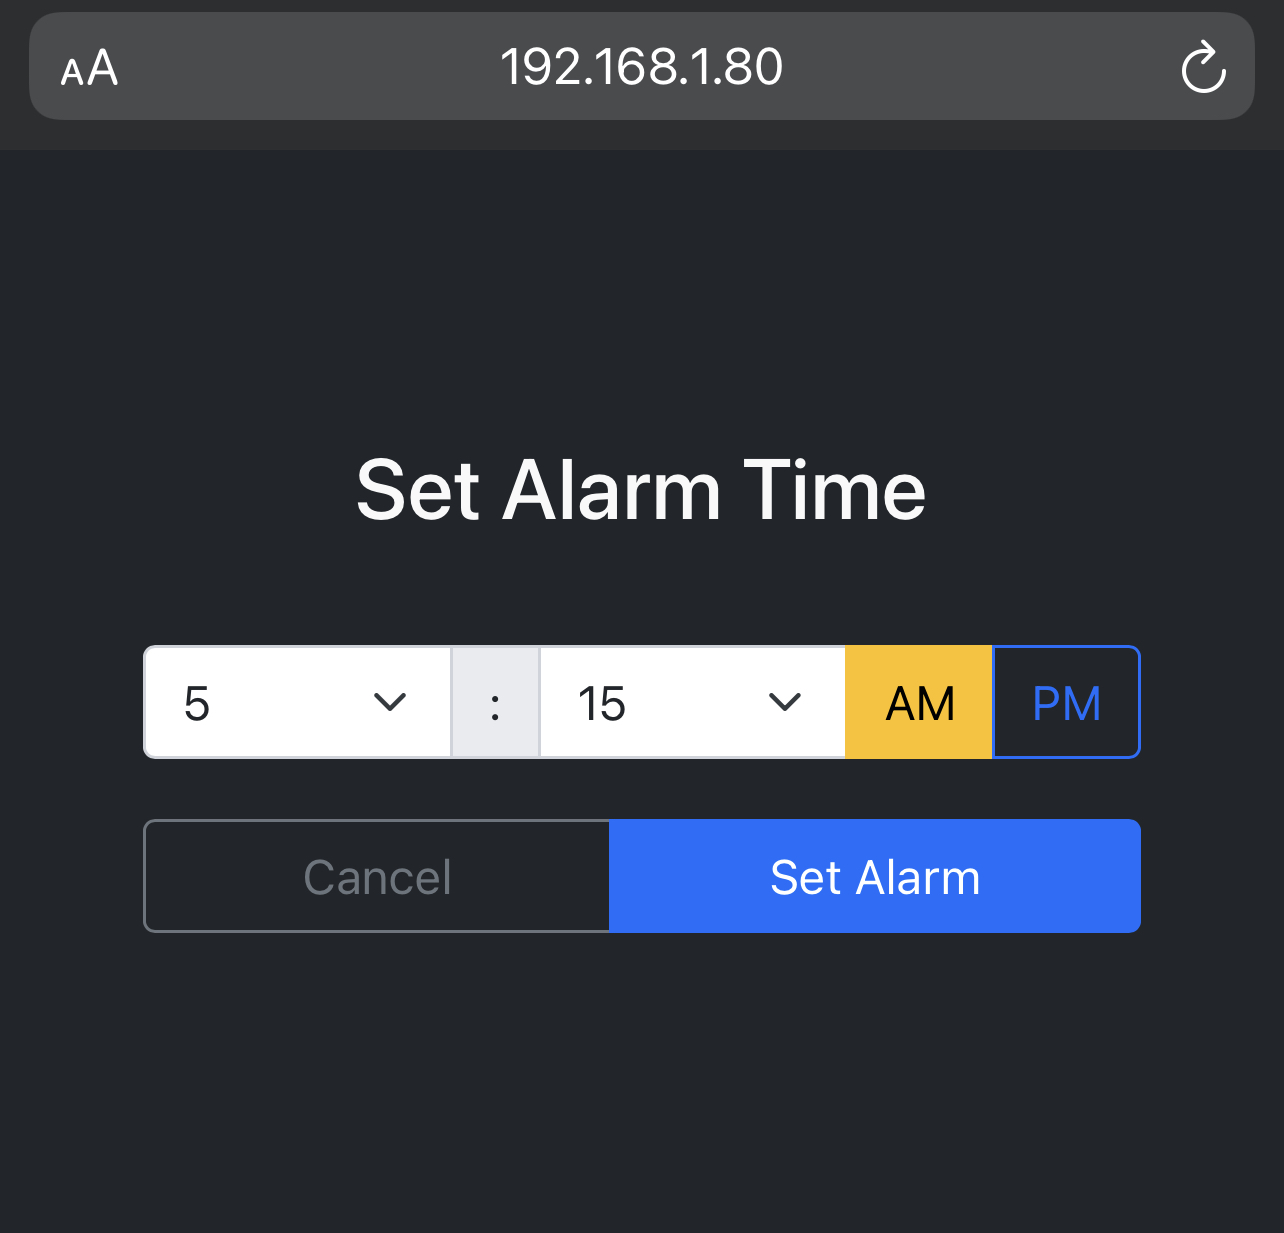
The first step was to succeed at what 15-year-old me never could: talking to girls sending commands to the radio from a microcontroller. This began with decoding the functions of the remote that I intended to replicate. Using Adafruit’s excellent IR receiver guide, I captured the remote patterns for the “power on/off”, “alarm on/off”, “time-“ and “time+” buttons. The next step was finding a way to reliably re-transmit my captured remote patterns with an ESP32 and IR LED. The Infrared4Arduino library provides an IRSequence class that handles carrier frequency modulation and can work directly with the on/off timing arrays generated by the Adafruit sketch. The final step was stitching these pieces together with a simple Bootstrap web interface and a little time math (oh, and spending another day modeling and printing a case).
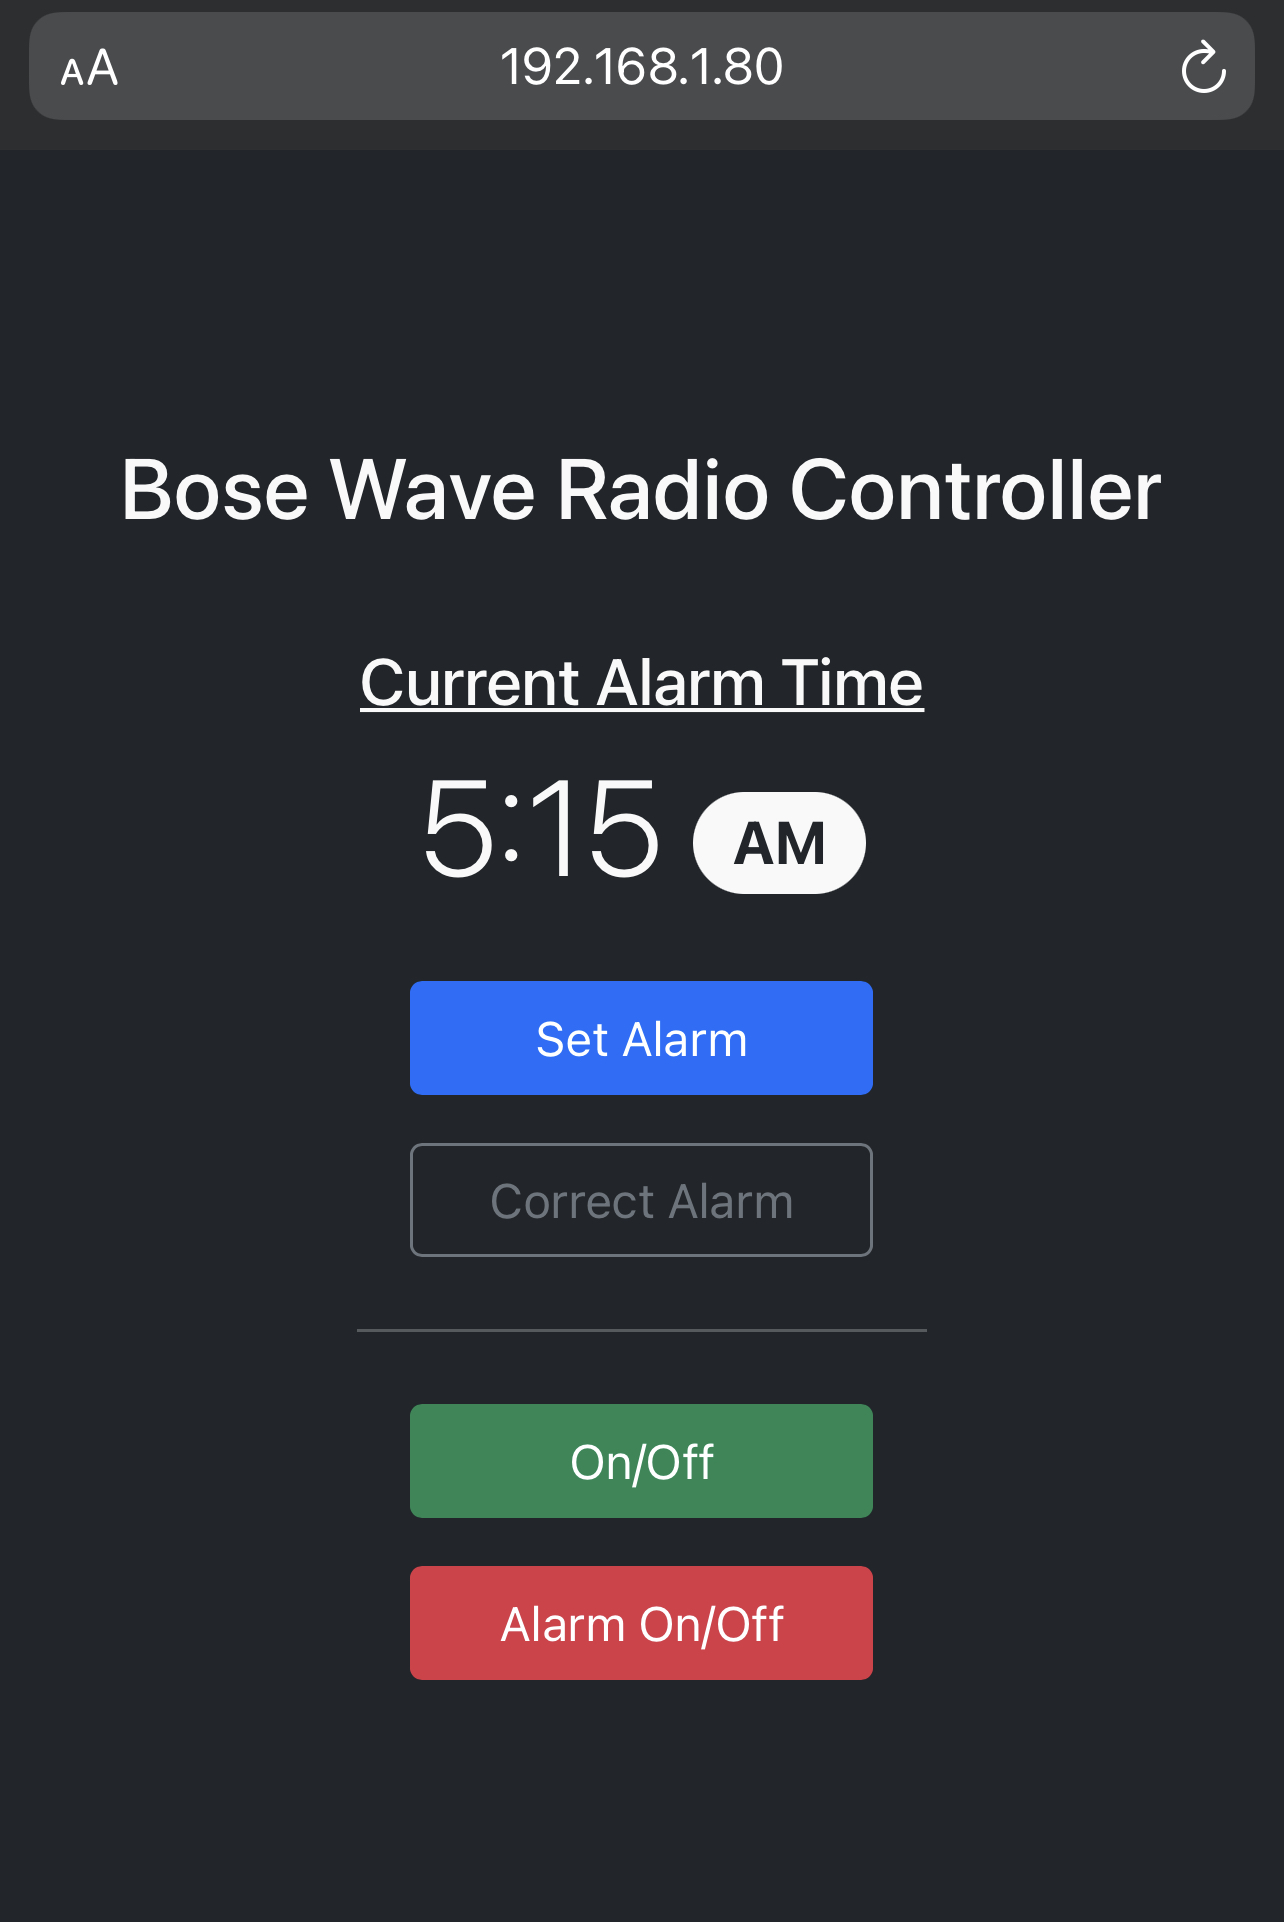
The program uses a set of global variables to keep track of the current alarm time setting. Should the alarm time set on the radio and in the webapp get out of sync for whatever reason, there is a “correct alarm” button that allows the user to update the alarm time value in the webapp without triggering any changes on the radio. As an additional measure to try to ensure that the webapp and radio remain synchronized, the time setting is written to the ESP32’s non-volatile memory with each change so that it will survive any kind of power supply interruption that may occur.
All of the controls are triggered using GET-requests (which has the convenient side-effect of making it easy to integrate with some sort of hypothetical home automation system in the future, or simple Siri shortcuts right now). The main loop is constantly checking to see whether there’s been a change in the alarm time setting and, if so, it toggles the alarm time up or down one minute at a time until the new setting is reached. Since I found I was only able to reliably send about 5 “button-presses” per second, the function that calculates and sets the minute difference between the current and desired alarm times also checks whether it would be quicker to toggle up or down to the desired time.
Links
- Check out the code on GitHub (this post references release v1.0.0)
- You can download the case model files on Printables.com
Parts
- Piece of 30x70mm perfboard
- ESP32 dev board (whichever one you want, as long as it fits on the perfboard)
- IR LED (can’t provide specifics, I just had this one laying around)
- Probably a resistor for the LED
-
Don’t get me wrong, I still have plenty of odds and ends I ran in and picked up from RadioShack mid-project over the years ↩